An understanding for perspective drawing is mandatory for anybody involved with representational drawing. I hope the last two blogs have been helpful in understanding what one-point perspectives and two-point perspective drawings are. In this blog, I am going to elaborate on a three point perspective drawing.
Perspective drawing deals with the appearance of things. In other words, it represents the best form of three-dimensional reality on 2D surfaces. These surfaces may include canvas, sketch pad or illustration board.
WHAT IS THREE POINT PERSPECTIVE?
Three-point perspective is the least used form of linear perspective. It works great when you want to draw objects from an abnormally high or low point of view. We have already seen in the previous blogs about the placement of vanishing points.
One point perspective makes use of one vanishing point. Two point perspective uses two vanishing points. Needless to say, three-point perspective uses three vanishing points. The only difference roots in the placement of the third vanishing point.
Now, if you do not know what a vanishing point is, please refer to my previous two blogs. The third vanishing point in three-point perspective is present either above or below the horizon level. Moreover, the third vanishing point creates distortion in the artistic composition. In fact, it builds an interesting artistic effect in the composition.
WHEN CAN YOU USE THREE POINT PERSPECTIVE?
Sometimes, you may need to render a large exterior scene or an intricate interior. In such cases, three-point perspective becomes the option to prefer. The addition of a third vanishing point creates a dramatic effect to a simple composition.
Yet, unlike one and two-point perspective, three-point perspective is pretty time-consuming. The presence of a third vanishing point contributes to this disadvantage. Also, it is advisable not to use this method on a deadline. Prior practice is thoroughly recommended.
AREAS OF DETERMINATION
Have you gone through Codex Huygens? It is a sixteenth-century Renaissance manuscript. In fact, it was once thought to be the work of Leonardo da Vinci. A thorough understanding of three-point perspective appears in the manuscript.
This manuscript demonstrates the foreshortening effect of looking up. We call it the ‘Worm’s Eye View’. Also, no lines are parallel to the picture plane. Since the viewer looks up or down at the object, we angle the picture plane to the ground.
There are a few other points that we need to consider before going ahead.
- All vertical construction lines lead to a third vanishing point.
- All horizontal construction lines lead to a single vanishing point. Also, it is entirely dependent on the type of the plane.
- Placing vanishing points at the centre of your canvas creates distortion.
- Placing the third vanishing point above the horizon level helps you create an image from ‘Ant’s Perspective’.
- Similarly, placing it below the horizon level creates an image from ‘Bird’s Eye View’.
Thus, the placement of vanishing points affects the deformation degree of your drawing.
WHAT ARE THE STEPS OF THREE POINT PERSPECTIVE?
FIRST STEP
Define the horizon line. Depending on where you want to place your object, place the horizon on the top or bottom of the paper. In other words, if the object is below the horizon, place the line on top of the paper and vice versa.
SECOND STEP
Place two vanishing points on the horizon line with sufficient space in between.
THIRD STEP
Draw a line from each vanishing point. Each set of lines needs to intersect below the horizon line.
FOURTH STEP
Place the third vanishing point below the intersecting lines. The line can be of any length. Avoid distortion by not placing the vanishing point too close to the previous lines.
FIFTH STEP
Now extend lines from the third vanishing point. Draw it in such a way that it intersects the intersections from the third step.
SIXTH STEP
Initiate another line from the first two vanishing points. In fact, extend these lines beyond the intersections receding towards the horizon.
SEVENTH STEP
Darken the form that you wish to keep and erase the others. Also, you may create a further illusion by adding value to the sides of your object.
LEARN THE ULTIMATE ART TECHNICALITIES FROM TOP INSTITUTIONS IN BANGALORE
Sampratishta is the first art school to provide Diploma courses in Bangalore. We have seen students enjoy a holistic and hands-on method.
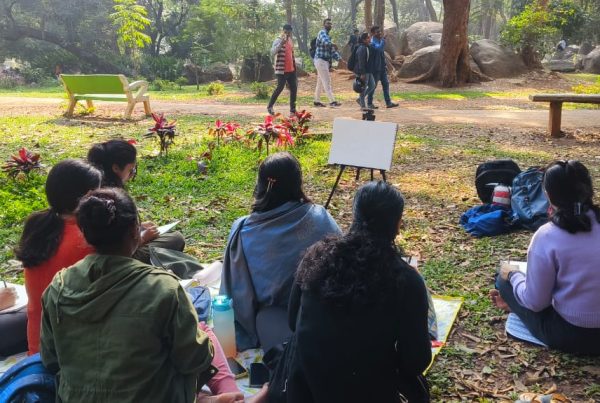
Also, Pencil and Chai conducts weekend sessions at Cubbon Park in Bangalore.